Latest Posts

Winter Warming Chickpea and Coconut Water Curry, with Homemade Peshwari Nan

coconut cury
Winter Warming Chickpea and Coconut Water Curry, with Homemade Peshwari Nan

At my birthday, someone brought round a carton of coconut water….and left in in my fridge. I wasn’t immediately sure what to do with it, however after tagging along to by boyfriends gig with Nell Bryden, a lovely New York singer/songwriter, I saw her gulping down litres of the stuff and assumed it was tasty! Yet on returning home the next day and the coconut water soaked my pallet, I was surprised how icky it actually was served straight. There was no way I would be able to finish the whole carton, I thought to myself. So whilst making curry in the evening, I came upon the idea of using it in place of regular water. It lends itself really well in this recipe, with the subtle coconut flavour and ever so slightly salty taste. Worth a go, but just use regular water if you haven’t been laden with a big old carton that you don’t know how to shift!

____________________________________________________________________________________

 Serves 4

a thumb size piece of ginger

1 tsp cumin

1 tsp coriander seeds

tbsp turmeric

3 whole cardamom pods

a dash of oil

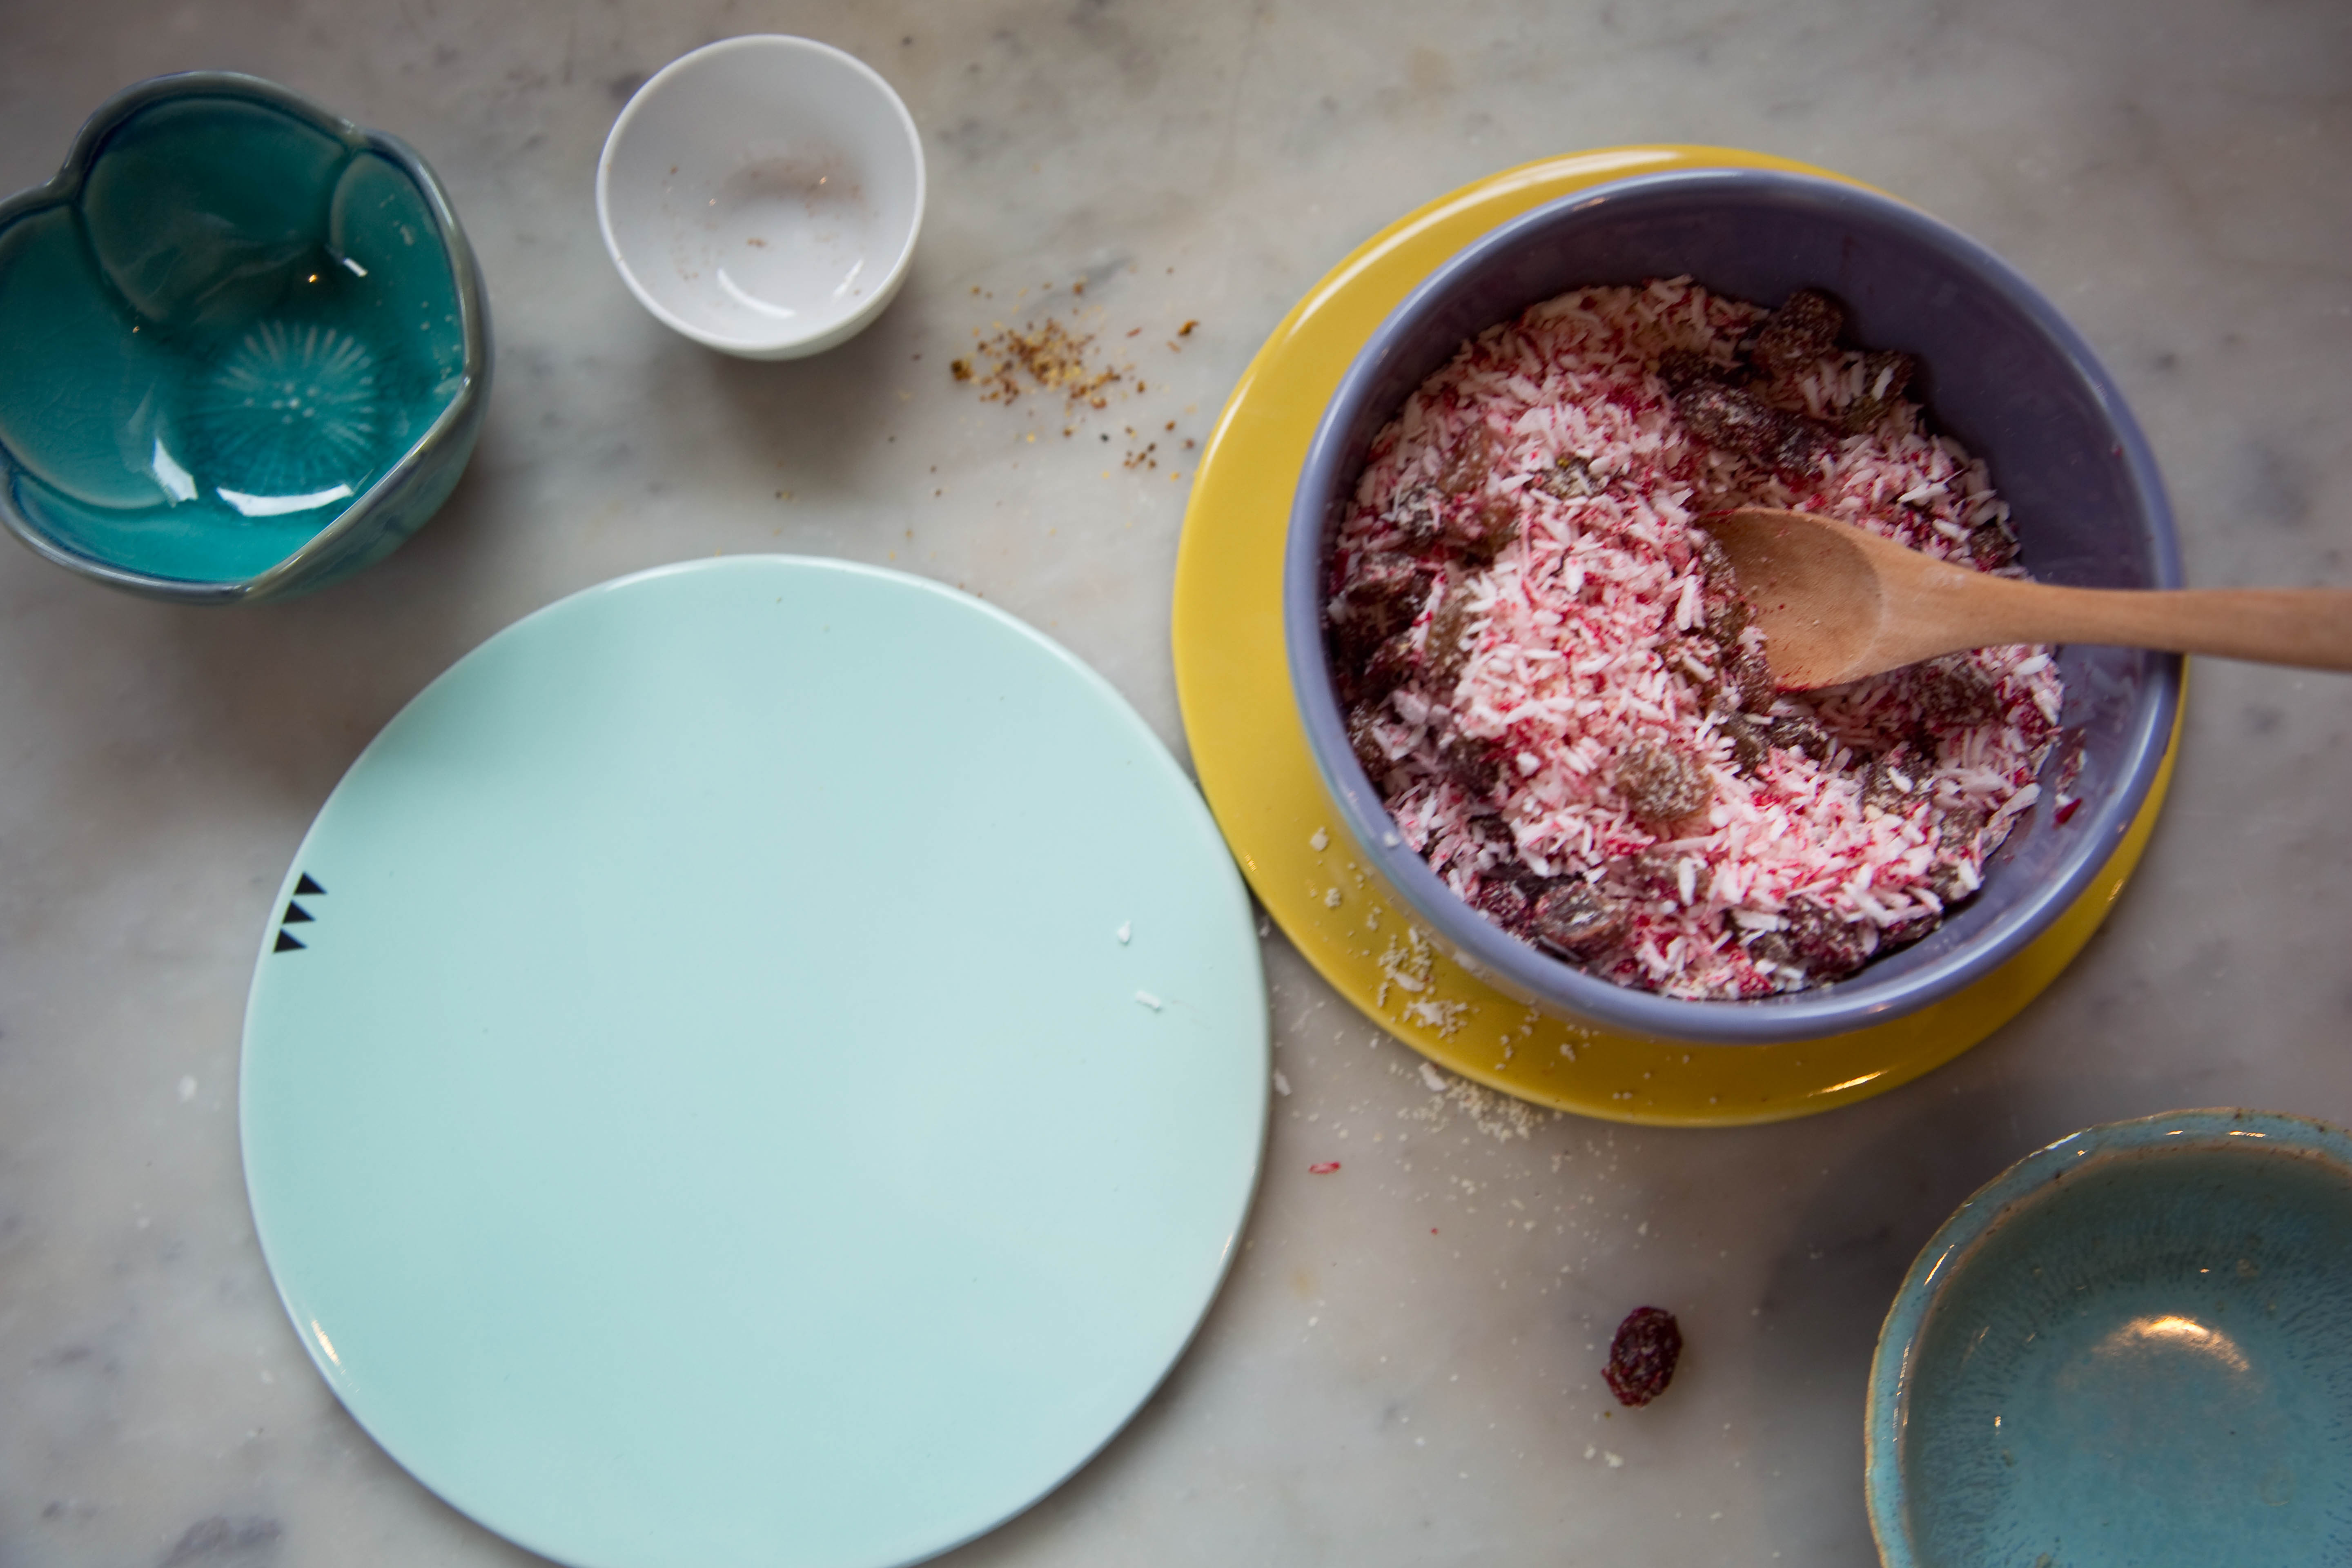
4 tbsp desiccated coconut

1 small dried red chilli

1 tbsp mild curry powder

1 large onion

half a head of cauliflower

half a head of broccoli

4 baby potatoes, peeled

1 tin chickpeas

half a mug of channa dall (yellow lentils)

300 ml coconut water (use tap water if not at hand)

1 tin chopped tomatoes

2 tbsp of Pumpkin Jam, recipe here. Or substitute with mango chutney

200ml natural yoghurt

2 tsp garam masala

fresh coriander leaves to garnish

salt to taste

____________________________________________________________________________________

Rinse the lentils well in running water, then soak for 30 min.

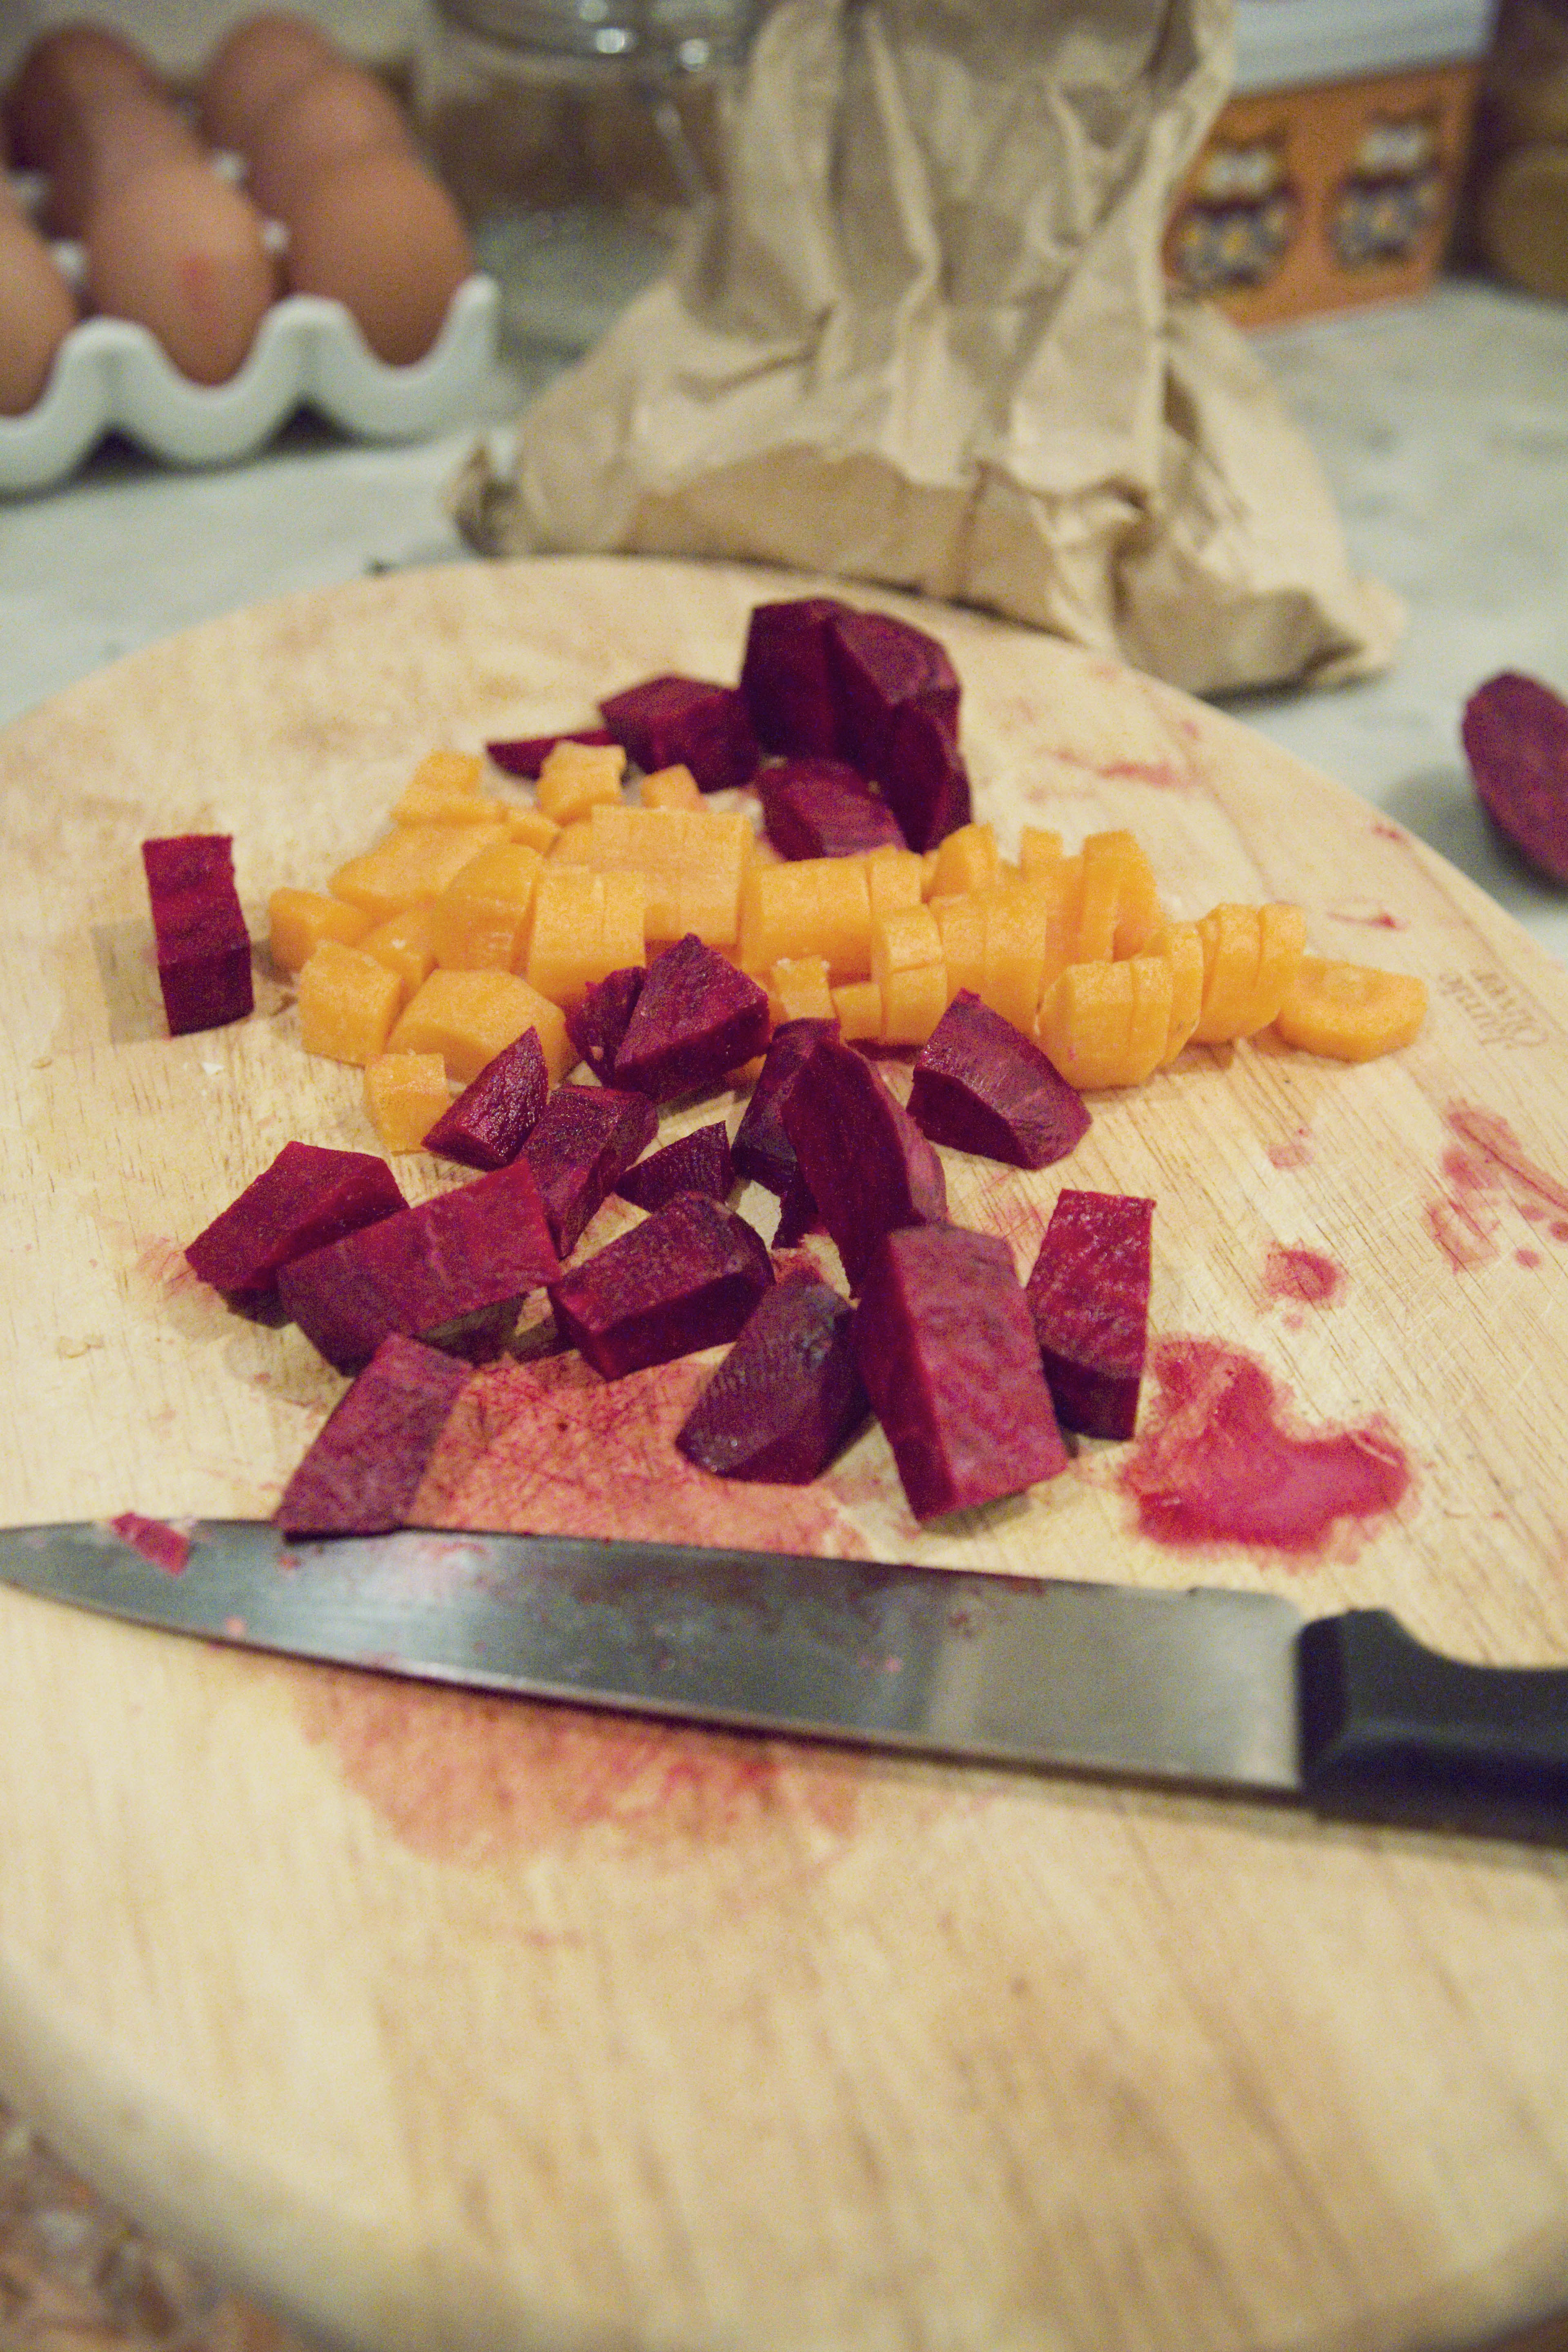
Meanwhile prepare the veg, by washing a chopping them.

Next make the curry paste. Finely chop the garlic and ginger and mix with the turmeric and curry powder adding a dash of water.

In a dry large pot, gently toast the cumin and coriander seeds, then add the oil and onions and stir for a couple of min. Now add the paste, and stir. Add the remaining vegetables, chickpeas, chilli and cardamom pods. Stir to coat the vegetables in the paste. Then add the coconut water, drained lentils and tomatoes and bring to a gentle simmer for 35 min or until the lentils are tender. If the curry starts to look to dry, add more water as required.

Now add the jam/chutney and yoghurt, season with salt and simmer for 10 min.

Finish by adding the garam masala to the curry.

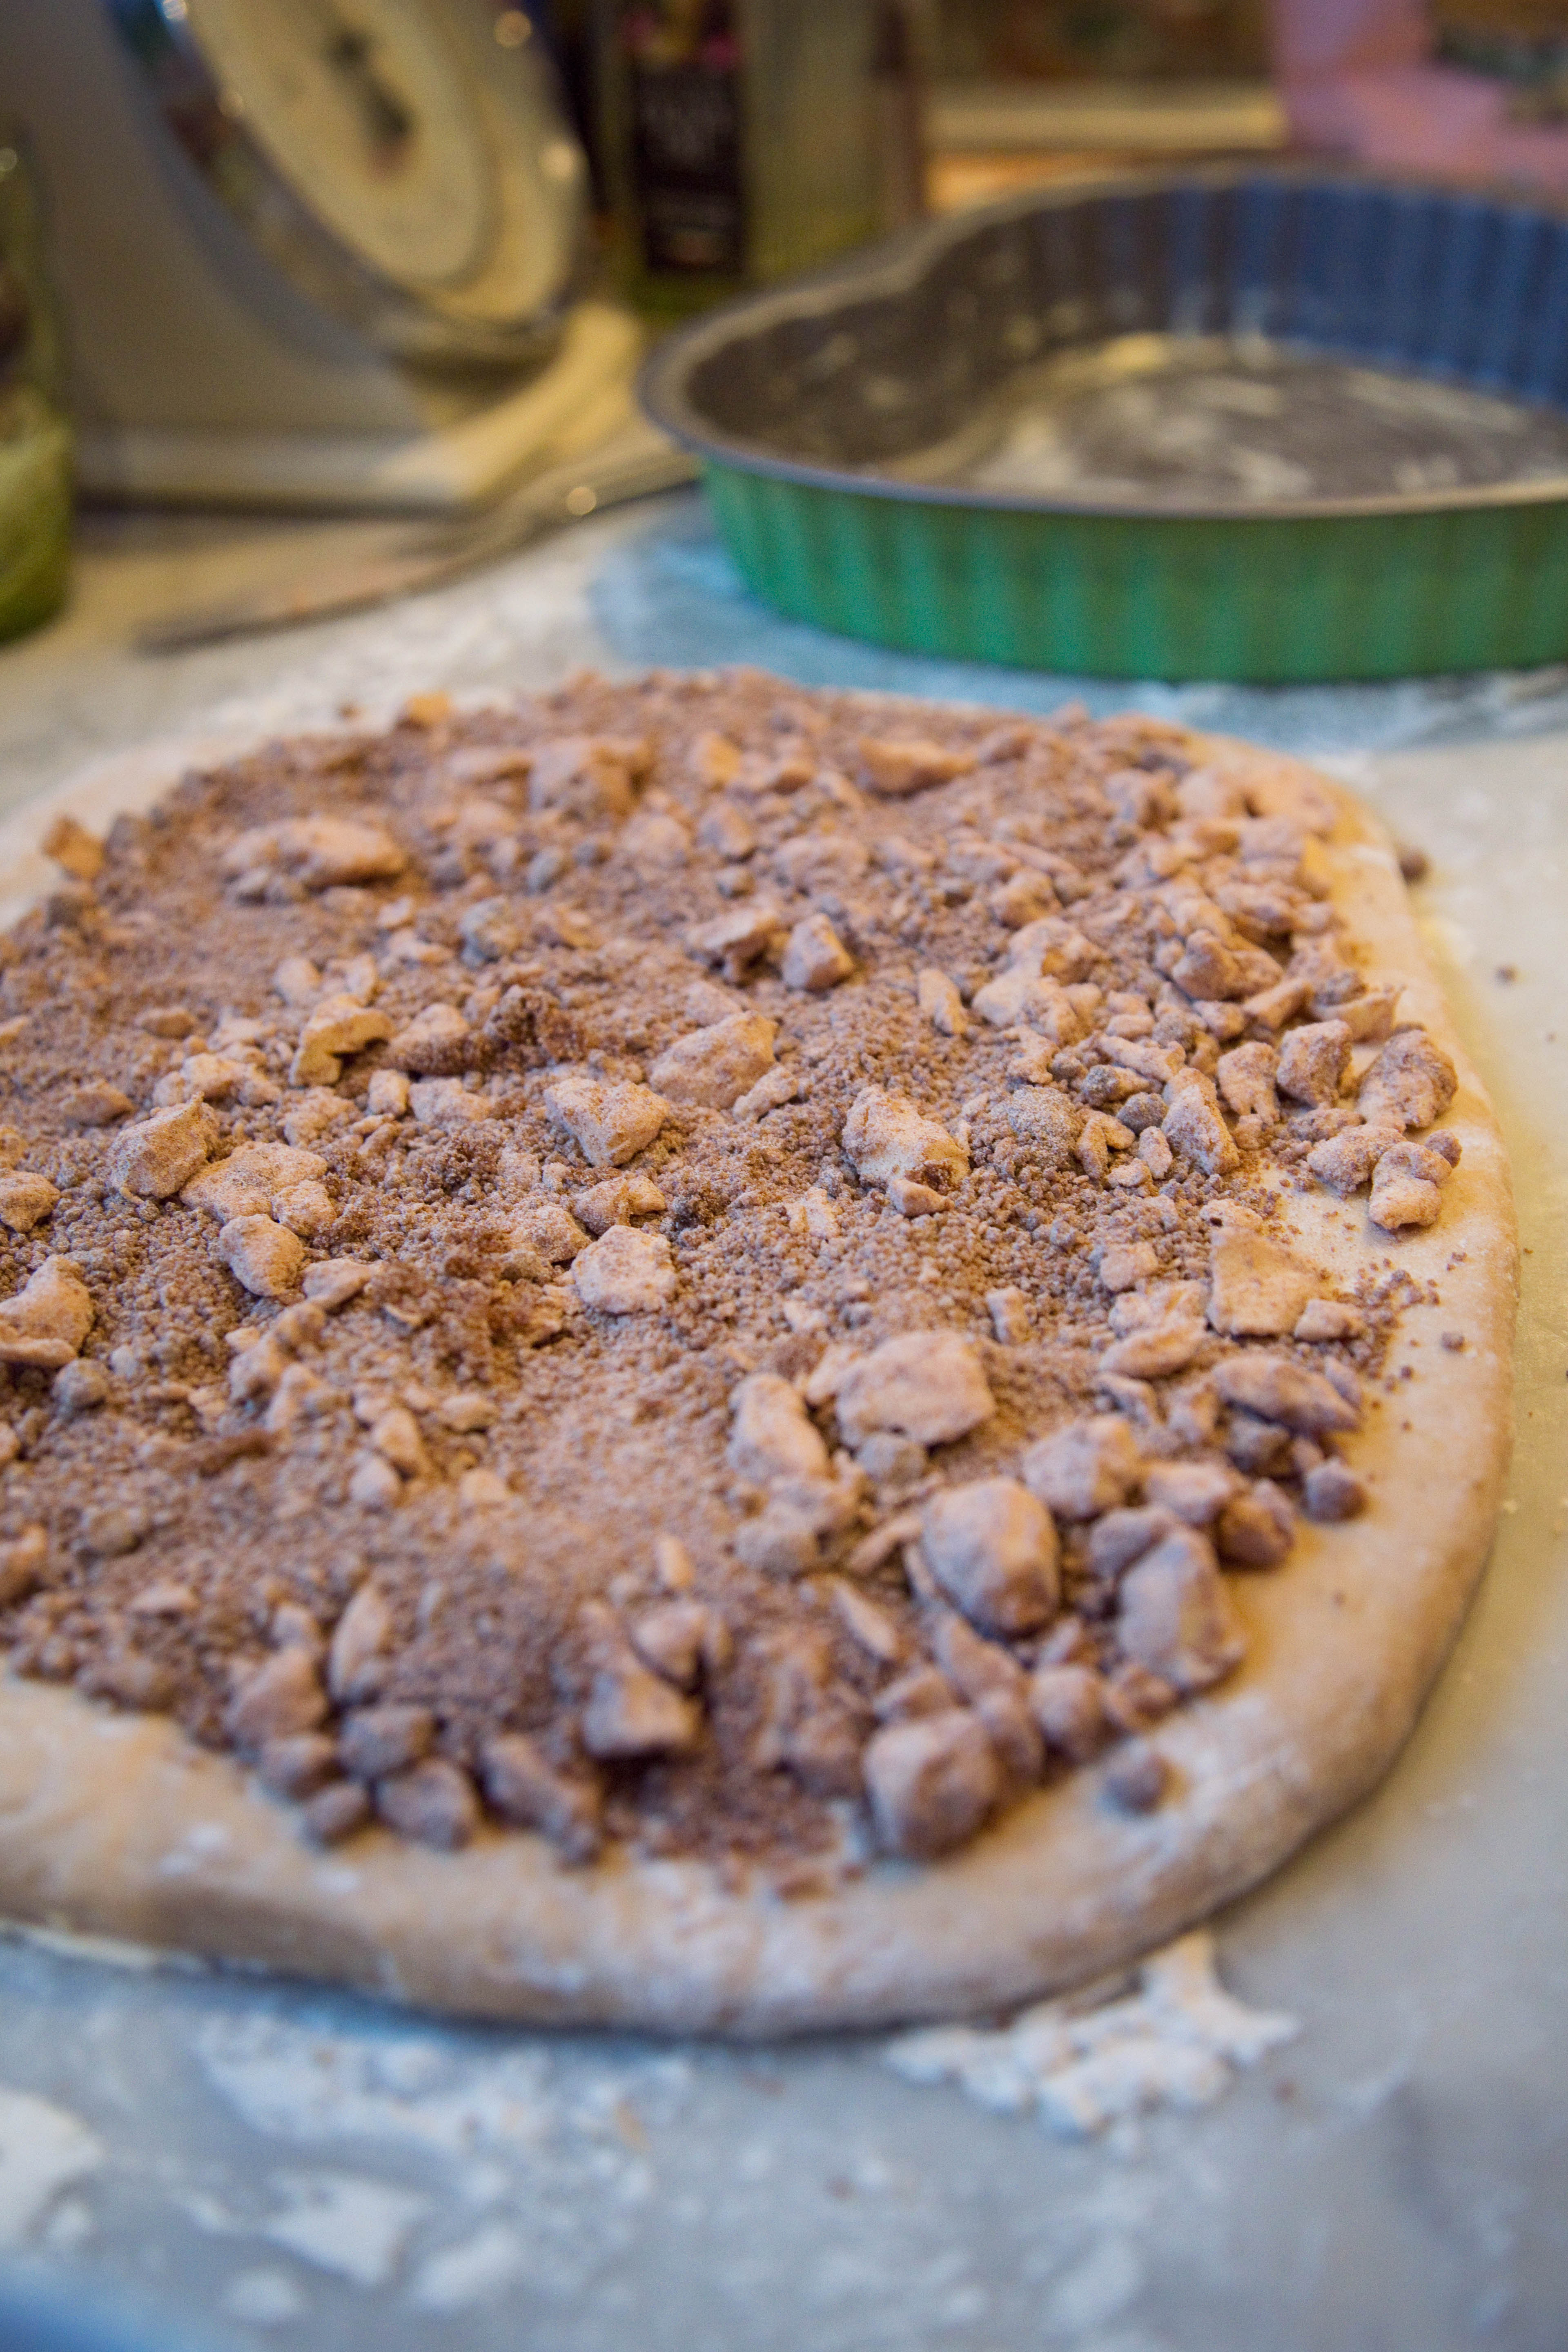
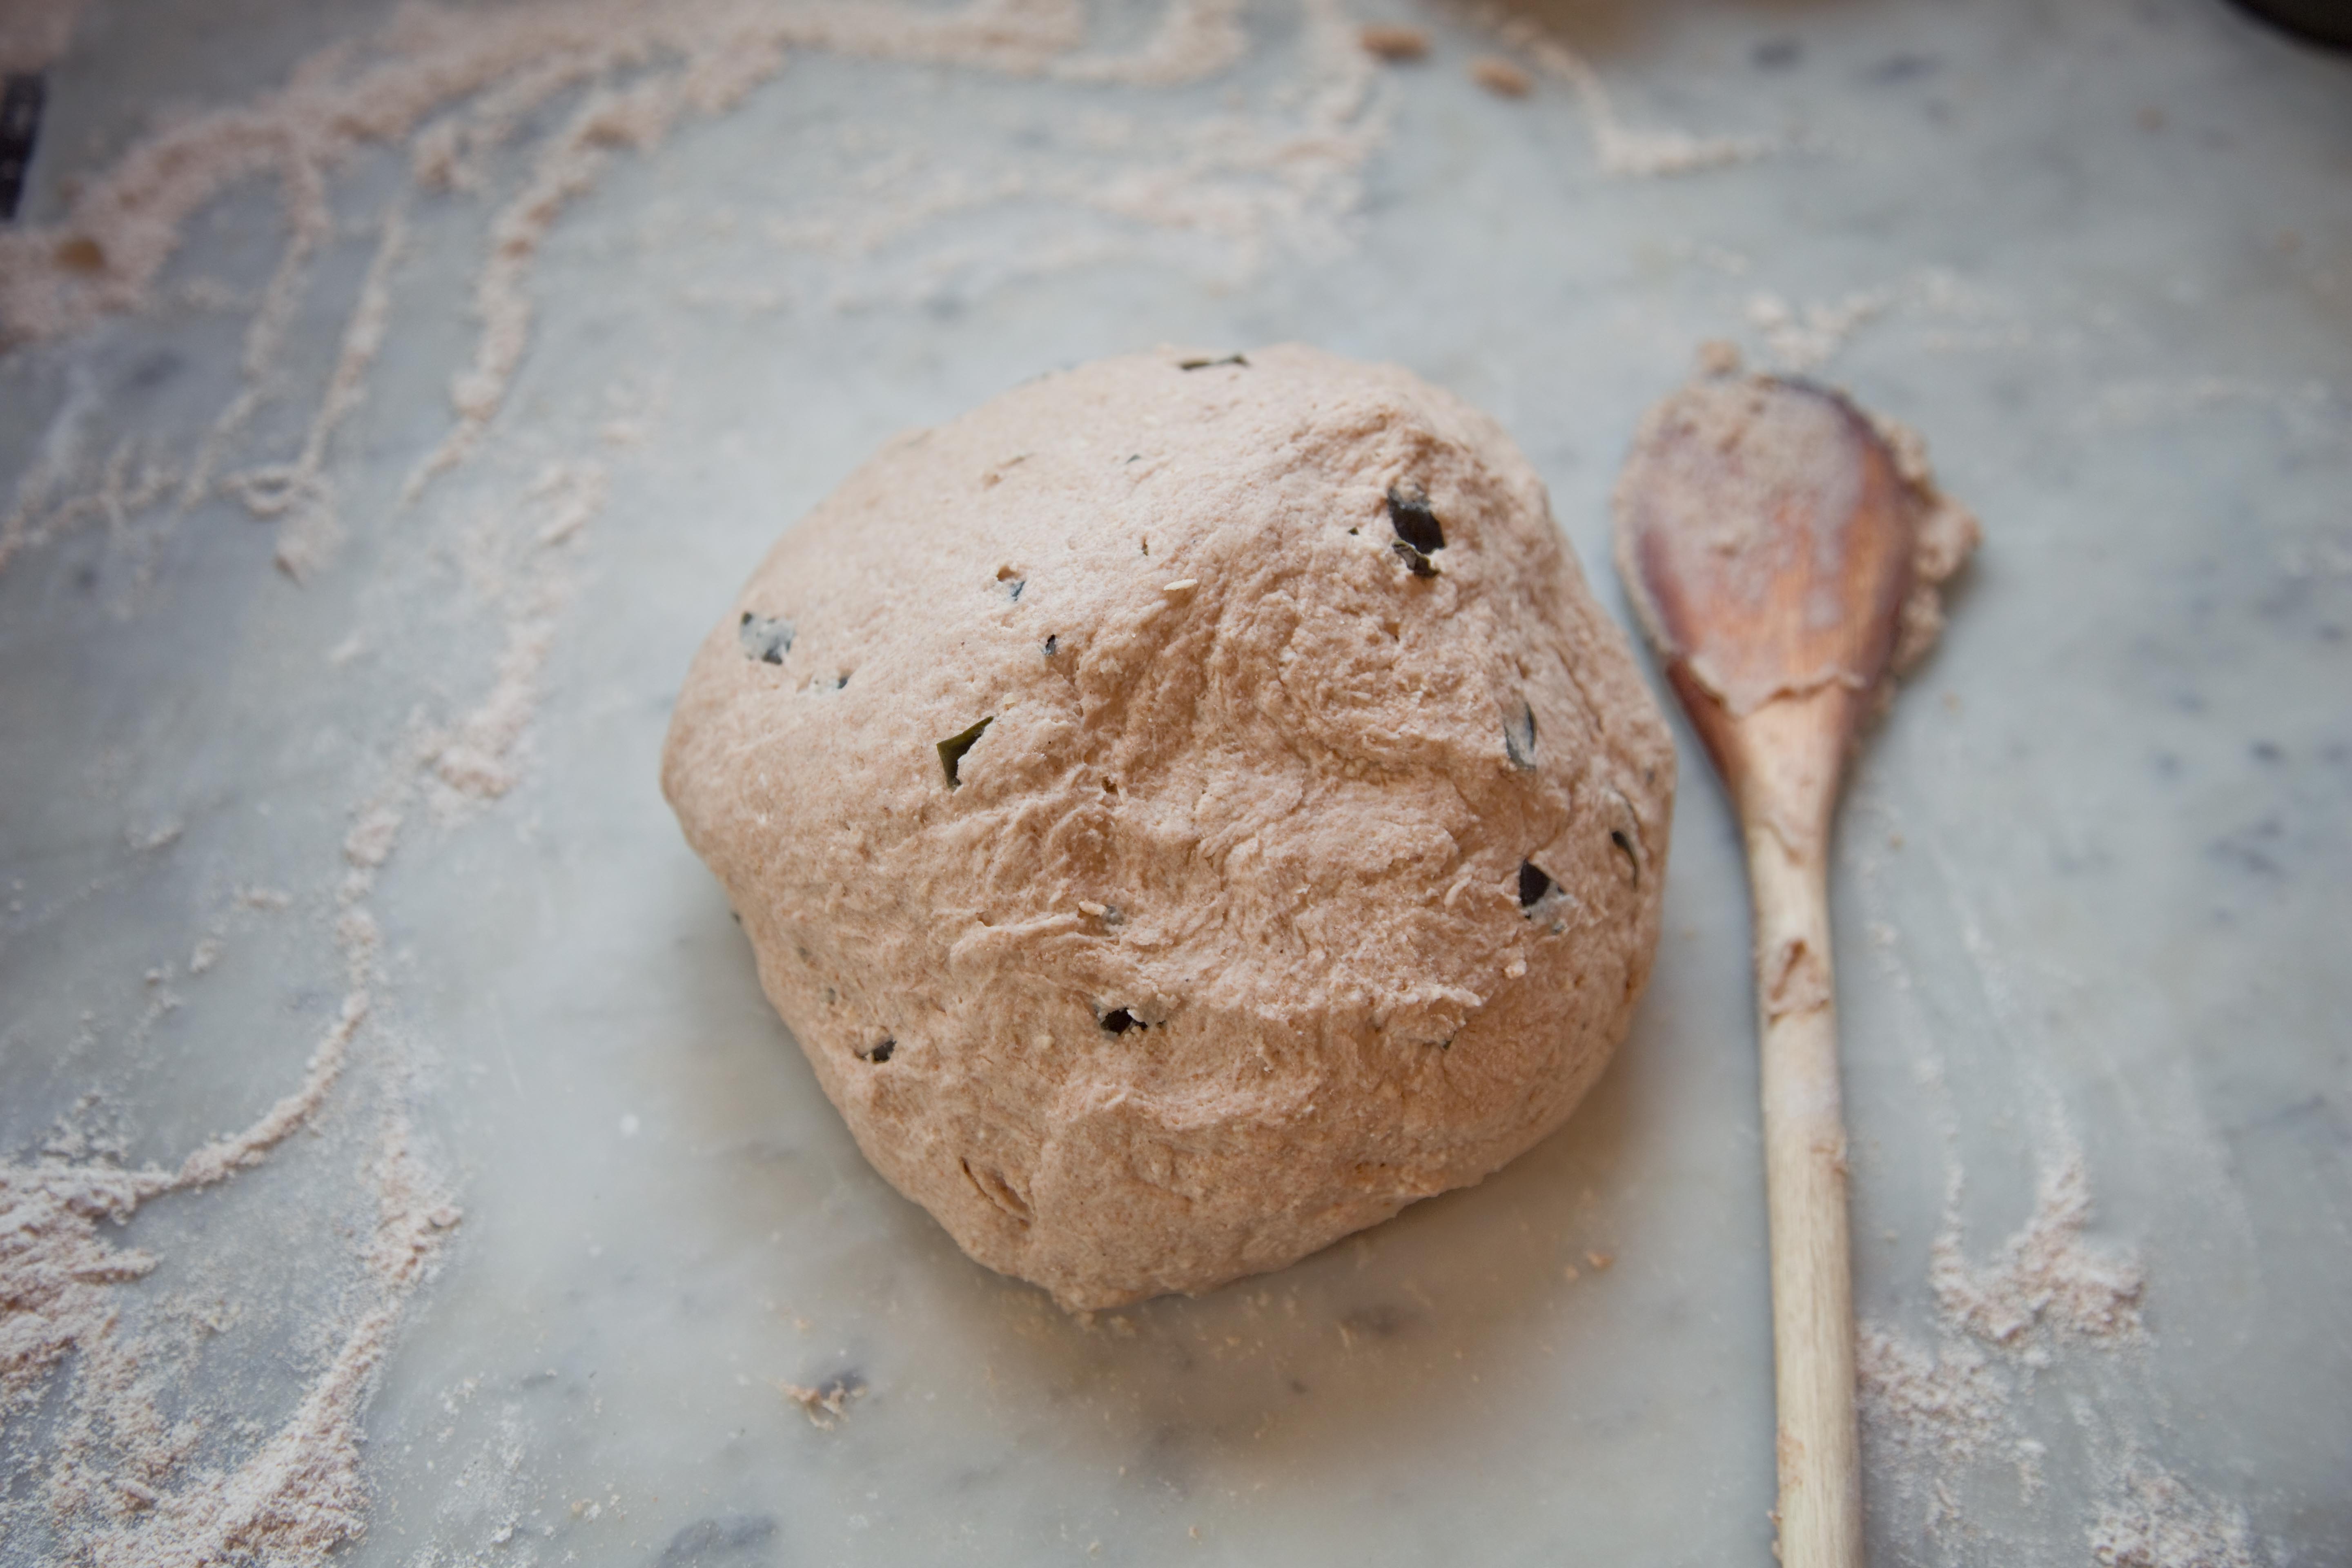
Serve with rice and Homemade Peshwari Nan, get that recipe here.

Homemade Peshwari Nan with Coconut and Pistachio

8B0A4966 copy

Homemade Peshwari Nan with Coconut and Pistachio

Making your own homemade nan is extremely satisfying! Ill not be going back to shop bought nan after having attempted these. The flavours are gorgeous and the texture is soft and fluffy. Sprinkling the baked nan with chopped pistachio give’s the bread a splash of fantastic colour. I used this recipe, but changed the filling to what I associate with Peshwari Nan.

____________________________________________________________________________________

8B0A4952 copy

Dough

250g plain flour plus extra for dusting

1 tsp sugar

½ tsp salt

½ tsp baking powder

130ml milk
8B0A4923 copy

8B0A4925 copy

Filling 

2 tbsp olive oil

30g chopped pistachios

50g desiccated coconut

1 tsp pilau rice spice mix

2 tbsp juicy sultanas

1 tbsp ground almonds

2 tsp agave syrup or sugar

1 drop red food colouring (optional)

1 tbsp salted butter melted, for serving
____________________________________________________________________________________

8B0A4926 copy

8B0A4928 copy

8B0A4929 copy

8B0A4930 copy

Sift together the flour, sugar, salt and baking powder in a bowl. Mix the milk and oil together in a separate bowl. Make a well in the centre of the dry ingredients and pour in the liquid ingredients.

Combine the ingredients to form a soft dough. Knead for 5 minutes, adding more flour if the dough feels to sticky.

Leave to rest in a covered bowl for 15 min.

Meanwhile combine the filling ingredients, adding the food colour if you like.

At this point preheat the grill, and leave the baking tray in the oven to heat up to.

Divide the dough into 5 equal pieces and roll out to a 10cm disc. Place a tablespoon of filling on one side of the disc, then fold in half and pinch around the edges to seal. Next roll out the nan with a rolling pin in the shape of a tear drop. Continue until all the nan’s are rolled flat. Then place them on the hot baking tray under the grill for 2 min, until golden.

Scatter chopped pistachios, coriander and a little melted butter on top.

Serve with a good curry, for example this one.

Winter Pesto with Kale, Rocket, Walnuts and Cashews

kale pesto
Winter Pesto with Kale, Rocket, Walnuts and Cashews

Homemade pesto is so fun and easy to make. It can practically be made with any leafy green, this time I have gone for a seasonal winter green, Kale.

Walnuts and cashews make this pesto luxurious and the rich parmesan really cuts through more than in the shop bought variety.

This recipe makes two jars worth and is packed full of super zinging vitamins needed at winter time.

____________________________________________________________________________________

130g kale

70g rocket

75g parmesan or grana padano cheese

30g walnuts

30g cashews

3 cloves of garlic

100ml extra virgin olive oil

1 lemon, juice of

salt & pepper to taste

____________________________________________________________________________________

pesto lemon

Start my bringing a large pan of water to the boil and blanch the kale for 3-4 min until tender. Drain the kale and set aside.

Wash the rocket and dry with a clean dish cloth.

Using a food processor, wiz the cheese, nuts and garlic for a few seconds. Then add the kale and rocket. The rocket might not fit at first, but once the kale is blended, it should fit. Add the oil, lemon, salt and pepper and wiz again.

Store in the fridge, and eat on pasta within one week.

Chai Cinnamon Buns

chai cinnamon buns in heart tin

8B0A4883 copy

Chai Cinnamon Buns

These buns are truly heavenly, especially when it is snowing outside! They are time consuming, but worth the effort on special occasions or at the weekends when you have extra time.

With this recipe, I have merged two great taste experiences together, Canadian Cinnamon Buns and Indian Chai to form the perfect Chai Cinnamon Bun.

After graduating from Art College, I traveled around India and Nepal with my friend Mary for 3 months. We saw wonderful things, from the snow peaked Himalaya, farmers washing their buffalo’s in the Ganges River to the glistening walls of the Taj Mahal, all along the trip drinking many cups of Chai. See more here and here

Authentic Indian Chai is made using a wonderful blend of warming spices and sweet honey steeped in milk then boiled. In India it’s served in tiny cups sometimes made of clay that can be bought from street sellers for 5 rupees (penny’s!). After gulping down the tea, it’s customary to smash the little clay cups on the ground and walk on.
I never smashed my cups! And subsequently at the end of my trip I had quite a few cups in my bulging backpack.

The soft fluffy texture of this bun recipe really lends itself to the warming aroma of the chai, have a go!

____________________________________________________________________________________

8B0A4827 copy

Dough

600-660g plain flour

2 tsp active dry yeast

260 ml whole milk

75 grams butter, unsalted

60 grams white sugar

1/2 teaspoon salt

3 large eggs

4 teabags of authentic chai

>

Filling

150 grams dark brown sugar

2 tbsp plain flour

2 tbsp ground cinnamon

2 tsp ground cloves

100 grams butter, unsalted

extra butter for greasing the tin and sealing the buns

>

Icing

50g icing sugar

2 tbsp butter, melted

20ml chai infused whole milk

____________________________________________________________________________________

8B0A4830 copy8B0A4833 copy 

Start by heating up the milk in a pan and add the chai teabags, let them infuse over low heat for 10 min then take the pan off the heat and steep the tea bags for a further 30 min.

Next make the dough. Melt the butter in a pan, then leave to cool for 5 min. Mix 600g of flour, sugar and yeast together in a big bowl, and pour 240 ml of the chai milk into the flour mix. Set the remaining 20 ml of milk to one side ready for the icing.

Pour in the melted butter and stir. Mix in the eggs, one egg at a time, stirring in-between. Beat the mixture well for 3-5 min.You want a soft dough, not sticky, but definitely not dry. If the dough at this point needs more flour, add the remaining 60g. Tip the dough out on a floured surface and kneed for 5-7 min more. Once the dough is lovely and soft, pop it in a greased bowl and cover with a damp dish cloth. Leave to rise for 1½ -2 hours.

Meanwhile, make the filling. In a bowl stir together the brown sugar, flour, cinnamon and cloves. Cut in the cold butter with a knife until the mixture is evenly combined.

Now tip out your dough and using a rolling pin, roll out the dough to roughly 30cm x 30cm. Then spread the filling on top of the dough square leaving a 1cm gap round the edges.

Now roll the dough together to form a long sausage shape. Then cut the roll into 8 equal pieces using a bread knife. Place the cut buns close together in a greased backing tin that roughly measures 30×25 cm.

8B0A4840 copy

Cover the buns with a dish cloth, leave to rise for 1 hour. Or refrigerate over night, and bake in the morning.

In a preheated oven set at 190 °c / fan 180°c, bake the buns for 25-30 min, until a skewer comes out clean.

Leave to cool in the tin for 5 min. Meanwhile make the icing, by mixing the icing sugar with the leftover chai milk and melted butter.

Pour over the still warm buns, and serve immediately.

American Style Blueberry Pancakes

blueberry pancakes top down
American Style Blueberry Pancakes

When my boyfriend and I took a month out of our schedule and headed to California, we ate a lot of pancakes. Not because we ordered them as such, but whenever we ordered eggs or any other breakfast dish, pancakes came on the side, whether you wanted them or not!

I had so many, I haven’t made my homemade version since getting back. But the other day my lovely friend Dorte reminded me of them once more, this time with added blueberry’s.

____________________________________________________________________________________

Makes roughly 8 small pancakes, or 4-5 medium ones.

135 g plain flour, preferably organic

1tsp baking powder

½ tsp salt

2 tbsp sugar

130 ml milk

1 large free-range egg

2 tbsp butter, melted

100g blueberrys

extra butter for frying

_________________________________________________________________________________________________________

blueberry pancake on plate

Start by melting the butter on low heat and leave to cool for 5 min.

Sift the flour and baking powder into a bowl, then add the salt. Whisk the milk and eggs together and pour the mixture into the flour and stir. Then add the melted butter, and stir until the batter is free of lumps. Leave for 15 min at room temperature.

On a medium hot frying pan add a knob of butter, pour a small amount of batter into the pan. Then place 5 or 6 blueberrys onto the cooking pancake. Be patient, don’t turn the pancake to soon, give it 2 or so min, it needs time to rise. Then flip over and cook for 1 min.

Keep your cooked pancakes warm in an oven at 60 degrees, until you have made the whole batch.

Serve with tons of butter and maple syrup.

Winter Beetroot Bolognese

beetroot bolognese
Winter Beetroot Bolognese

Its not the first time I declare my love of beetroot. Beetroot is a fantastic vegetable that you can do so many things with. It’s superb during late summer when first dug up, but is so good at keeping fresh right through to winter. It gets woodier, but it comes back to life when used in recipes like this Winter Beetroot Bolognese.

You can add a meat substitute like quorn mince, or even a can of kidney beans for added fill, but its not strictly necessary as the beetroot and mushrooms give this dish a fantastic wholesome texture.

____________________________________________________________________________________

1 large beetroot
2 medium or 1 large carrot
1 medium onion
3 cloves of garlic
1 tin organic tomatoes
big handful or 9 button mushrooms
250g quorn mince (optional)
3tbsp red lentils
2 tsp hot paprika
2 tsp dried or fresh oregano
5 fresh basil leaves
1 tbsp red wine or red wine vinegar
1tbsp tomato purée
half a tin of water
salt and pepper to taste
250g spaghetti
Parmesan and rocket to garnish.

___________________________________________________________________________________________________________

beetroot

Wash and chop all the vegetables (except the garlic), and put in a large pan with a good helping of olive oil and sauté for a couple of min. Now add the chopped garlic, sauté for a min more. Add the oregano, hot paprika, basil and quorn if using and let the ingredients mix together. Now add the tin of tomatoes, tomato purée, red wine vinegar, and fill the empty tomato can with water and add to the pot. Finally add the lentils and stir. Season with salt and pepper to taste. More water can be added if mixture looks too dry.
Put a lid on your pot and let it simmer for 45 min string occasionally.

10 min before the bolognese is ready, add the spaghetti to a pan of boiling water and cook al dente.

Drain the spaghetti and drizzle olive oil over the pasta, serve with the bolognese topped with parmesan and rocket.

Chocolate, Sea Salt and Shortbread Squares

sea salt chocolate squares
Chocolate, Sea Salt and Shortbread Squares

When I bake, I usually make a big deal out of it, with the ingredients list going on forever. But at times that task can be a little much, especially if you are in a hurry to whip up something homemade and need a sweet treat fast! At Christmas my friend Pat brought round a fridge load of superb homemade sweets and nibbles in preparation for the mass gathering we were having over the festive period. Among the delights were Pats Chocolate Squares. And I fell in love with them! They are very quick and easy to make with a no bake no fuss attitude. All Ive changed to her original recipe is the addition of sea salt for added depth and balance between the rich chocolate and crunchy shortbread.

sea salt and chocolate

____________________________________________________________________________________

225g unsalted butter

3 tbsp golden syrup

50g cocoa, sieved

300g shortbread

100g fair trade dark or milk chocolate

a pinch of sea salt

____________________________________________________________________________________

8B0A4677 copy

In a pan, gently melt the butter, golden syrup and sieved cocoa powder. Meanwhile, break the chocolate into small pieces and melt over a bain marie and add a pinch of sea salt.

Take the butter mixture off the heat and crush the shortbread into the mixture and stir.

In a lined square baking tin (18-20cm) pour in the mixture and spread out evenly. Next pour the melted chocolate on top of the mixture and refrigerate for an hour.

Cut into small squares and serve.

sea salt and chocolate cake

Seaweed and Wholewheat Rolls

8B0A4631 copy

Seaweed and Wholewheat Rolls

The first time I tasted fresh Seaweed, was on Iceland. I was up there doing an exhibition with my Icelandic friend Eva. Jon, the owner of the gallery we were exhibiting in took us on a long walk along the coast from the town of Bildadur, stopping along the way to sample bits of fresh seaweed.

The vast beauty and magic of Iceland is hard to explain briefly. But a good word is however, empty. It’s empty in an amazing way. The landscapes are mostly untouched my man, which allows your imagination to wander as you realize that the first Norse settlers who came to the island, would have seen the landscape in exactly the same way. Iceland is relatively small as countries go, but standing on the shore with towering, near vertical mountains rising up above is at once overwhelming and immensely inspiring.IMG_1361 copy

I didn’t initially swear to forever more eat seaweed on a regular basis, after being presented with a few strands to eat on the beach that day. But after receiving this book a few years later, by Danish author Anette Eckman, her inspiring small chapter on Bladderwrack got me thinking about seaweed once more.

bladderwrack

Bladderwrack is an abundant seaweed that grows in the Scottish waters and indeed in all of the North Sea and Atlantic and is also known as Black Tang or Rockweed. It’s super nutritious and has properties that reduce cholesterol, boost the metabolism as well as many more good things. For more on Bladderwrack go here.

You should harvest the Bladderwrack at low tide in order to get out to the plants that grow in flowing water. Using a pair of scissors cut 10-15 cm of the tops of the weeds, leaving the majority of the plant intact so it can continue to grow. The seaweed should have no smell if it is fresh, and don’t harvest weeds that have washed up on the shore as they are no longer fresh. You can harvest seaweed all year round, but spring is best for the tasty new shoots.

I harvested my seaweed in a wetsuit, from a ‘blue flag’ beach, that has no pollution, make sure you do the same. (not the wetsuit, just the clean water!)

harvesting seaweed

Note: There are over 10.000 seaweed varieties and very few of them are non-edible, but some are better than others for use in the kitchen. This is a good site for more info.
Once home, wash your seaweed in plenty of fresh water to remove some of the salt. Seaweed has many uses, it can be blanched for a couple of min and add to pasta dishes or soups. You can also dry the seaweed in the oven at 60 degrees for 30 min, or until completely dry. Store in airtight containers. Once submerged into water, the seaweed becomes as good as new!

Anette Eckmann suggests adding Bladderwrack to your favourite bread recipe, and that is exactly what I’ve done.

8B0A4595 copy

____________________________________________________________________________________

Makes 8 large Rolls

1 tsp easy bake yeast
500g organic strong wholewheat flour
50g organic porridge oats
2 tbsp maple syrup
2 tbsp olive oil
1 tsp salt
a big handful of washed and chopped Bladderwrack
350ml luke warm water
sea salt and sesame seeds for the top.

____________________________________________________________________________________

chopped bladderwrack

In a bowl mix together the flour, salt and yeast. Then stir in the maple syrup, oil and Bladderwrack. Add the water and mix to form a soft dough. Turn out on a floured surface and knead for 10 min by hand until the dough is smooth and elastic. Drizzle a little olive oil into a bowl, pop the dough in, cover and leave to rise in a warm spot for 1 hour.

When risen, divide the dough into 8 balls and place on a greased baking tray. Cover with a tea-towel and leave to rise for an additional 45 min. Once risen brush with a little olive oil and sprinkle with sea salt and sesame seeds or some extra seaweed.

In a preheated oven at 220 °c / 400 °f / gas 6,  bake for 25-35 min, until golden. The rolls are ready when they sound hollow when tapped.

Serve with a good soup, or as I did, with Girl-Slaw, cheddar and baby leaves.
To see more pictures of Iceland go here.

8B0A4609 copy 8B0A4610 copy 8B0A4611 copy 8B0A4621 copy

Girl-Slaw with Homemade Pita Bread and Ginger Marinated Vegetable Kebab

girlslaw recipeGirl-Slaw with Homemade Pita Bread and Ginger Marinaded Vegetable Kebab

If I had a signature dish, I think it would be Girl-Slaw as I’ve dubbed it. I make it regularly and I never tire of its vivid pink colour, its sweet taste and crunchy texture. It’s not exactly high brow but it is fantastic! I first encountered pink coleslaw eating at The Outsider in Edinburgh and have since then insisted my coleslaw, or rather Girl-Slaw, always be served Pink!

Its great served as part of a BBQ or in your favourite baguette, or better yet in Homemade Pitta, get that recipe here. And it becomes much better if you make it a day in advance, so that the flavours really come together.

red cabbage

____________________________________________________________________________________

Girl-Slaw

Serves 4

.
½ head of white cabbage

1 large beetroot

1 large carrot

1 small onion

1 handful of raisins

½ lemon, juice of

1 large tsp of your favourite mustard (mine is Dijon)

5 tbsp mayonnaise

pepper to taste
____________________________________________________________________________________

Start by washing your veg. Then grate the beetroot and carrot into a large bowl. Finely chop the onion and head of cabbage and add to the bowl along side the raisins, lemon juice and mayonnaise. Mix it all together and finish by adding the pepper.

Note: You can if you prefer a lighter version, substitute the mayo with natural yoghurt.
____________________________________________________________________________________

vege kebab recipe

Marinated Vegetable Kebab

Serves 4
2 medium sweet potato

6 broccoli florets

1 large onion

1 small beetroot

1 red pepper

1 yellow pepper

8 or so brown button mushrooms

____________________________________________________________________________________

Marinade

3 tbsp white wine vinegar or cider vinegar

1 tbsp brown sugar

1 tbsp minced ginger

1 clove garlic, crushed

1 tsp cayenne pepper

1 tsp pepper

____________________________________________________________________________________
spice mix

Chop all the vegetables into chunks and stick them onto kebab sticks. I have a great flexible Fire Wire kebab ‘cable’ which allows me to pop the whole thing into a bowl for marinading, or a plastic bag.

Then mix all the marinade ingredients together, either finely chop the ginger or squish it through the garlic crusher.

Then pour the marinade over the kebab sticks and pop in the fridge for 24 hours to really soak up the spices.

Next day, either BBQ the kebabs to taste, or stick them in the oven at at 220 °c / fan 200°c / gas 6.

Note: You can really use any veg you like for these kebabs, just go for it.


Homemade Pita

homemade pita recipe
Homemade Pita Bread

On my way home from the beach with my dog yesterday I stopped off at the local shop to get some pita bread for my favourite Girl-Slaw recipe. Get that recipe here.

And as I stood in line, I thought to my self; Why have I never made my own pita? I know it must be simple.

And boy is it simple! And tasty. I found this recipe, and adapted it using half wholemeal flour instead of just white. I loved the simple process of making the pita, seeing them puff up in the pan is very satisfying indeed.

____________________________________________________________________________________
Makes 8

200-250ml luke warm water
2 tsp dry yeast
175g wholemeal flour, organic
175g plain flour, organic
1 tsp salt
2 tsp olive oil

____________________________________________________________________________________

Mix the 200 ml of the water and yeast together in a bowl, and let sit for about five minutes until the yeast is dissolved. Add the flour, salt and olive oil. Mix the dough together, and if needed add the remaining

50ml of water until the dough hangs together. Sprinkle a little flour onto a work surface and turn out the dough.

pita dough ball

Knead the dough for about 10 minutes, until the dough is smooth and springs back when poked. Drizzle a little olive oil into the bottom of a bowl. Place the dough in the bowl and cover it with a tea-towel, leave to rise in a warm spot for 40min -1 hour or until it has doubled in size.

pita dough recipe

Remove the dough from the bowl and divide it into 8 pieces. Roll each piece into a pita shape and place on a hot pan with a tiny amount of olive oil. Bake for 2 min on each side, or until the pita rises up, then turn over.

pita doughpita bread