Bolo de Arroz – Portuguese Rice Cakes
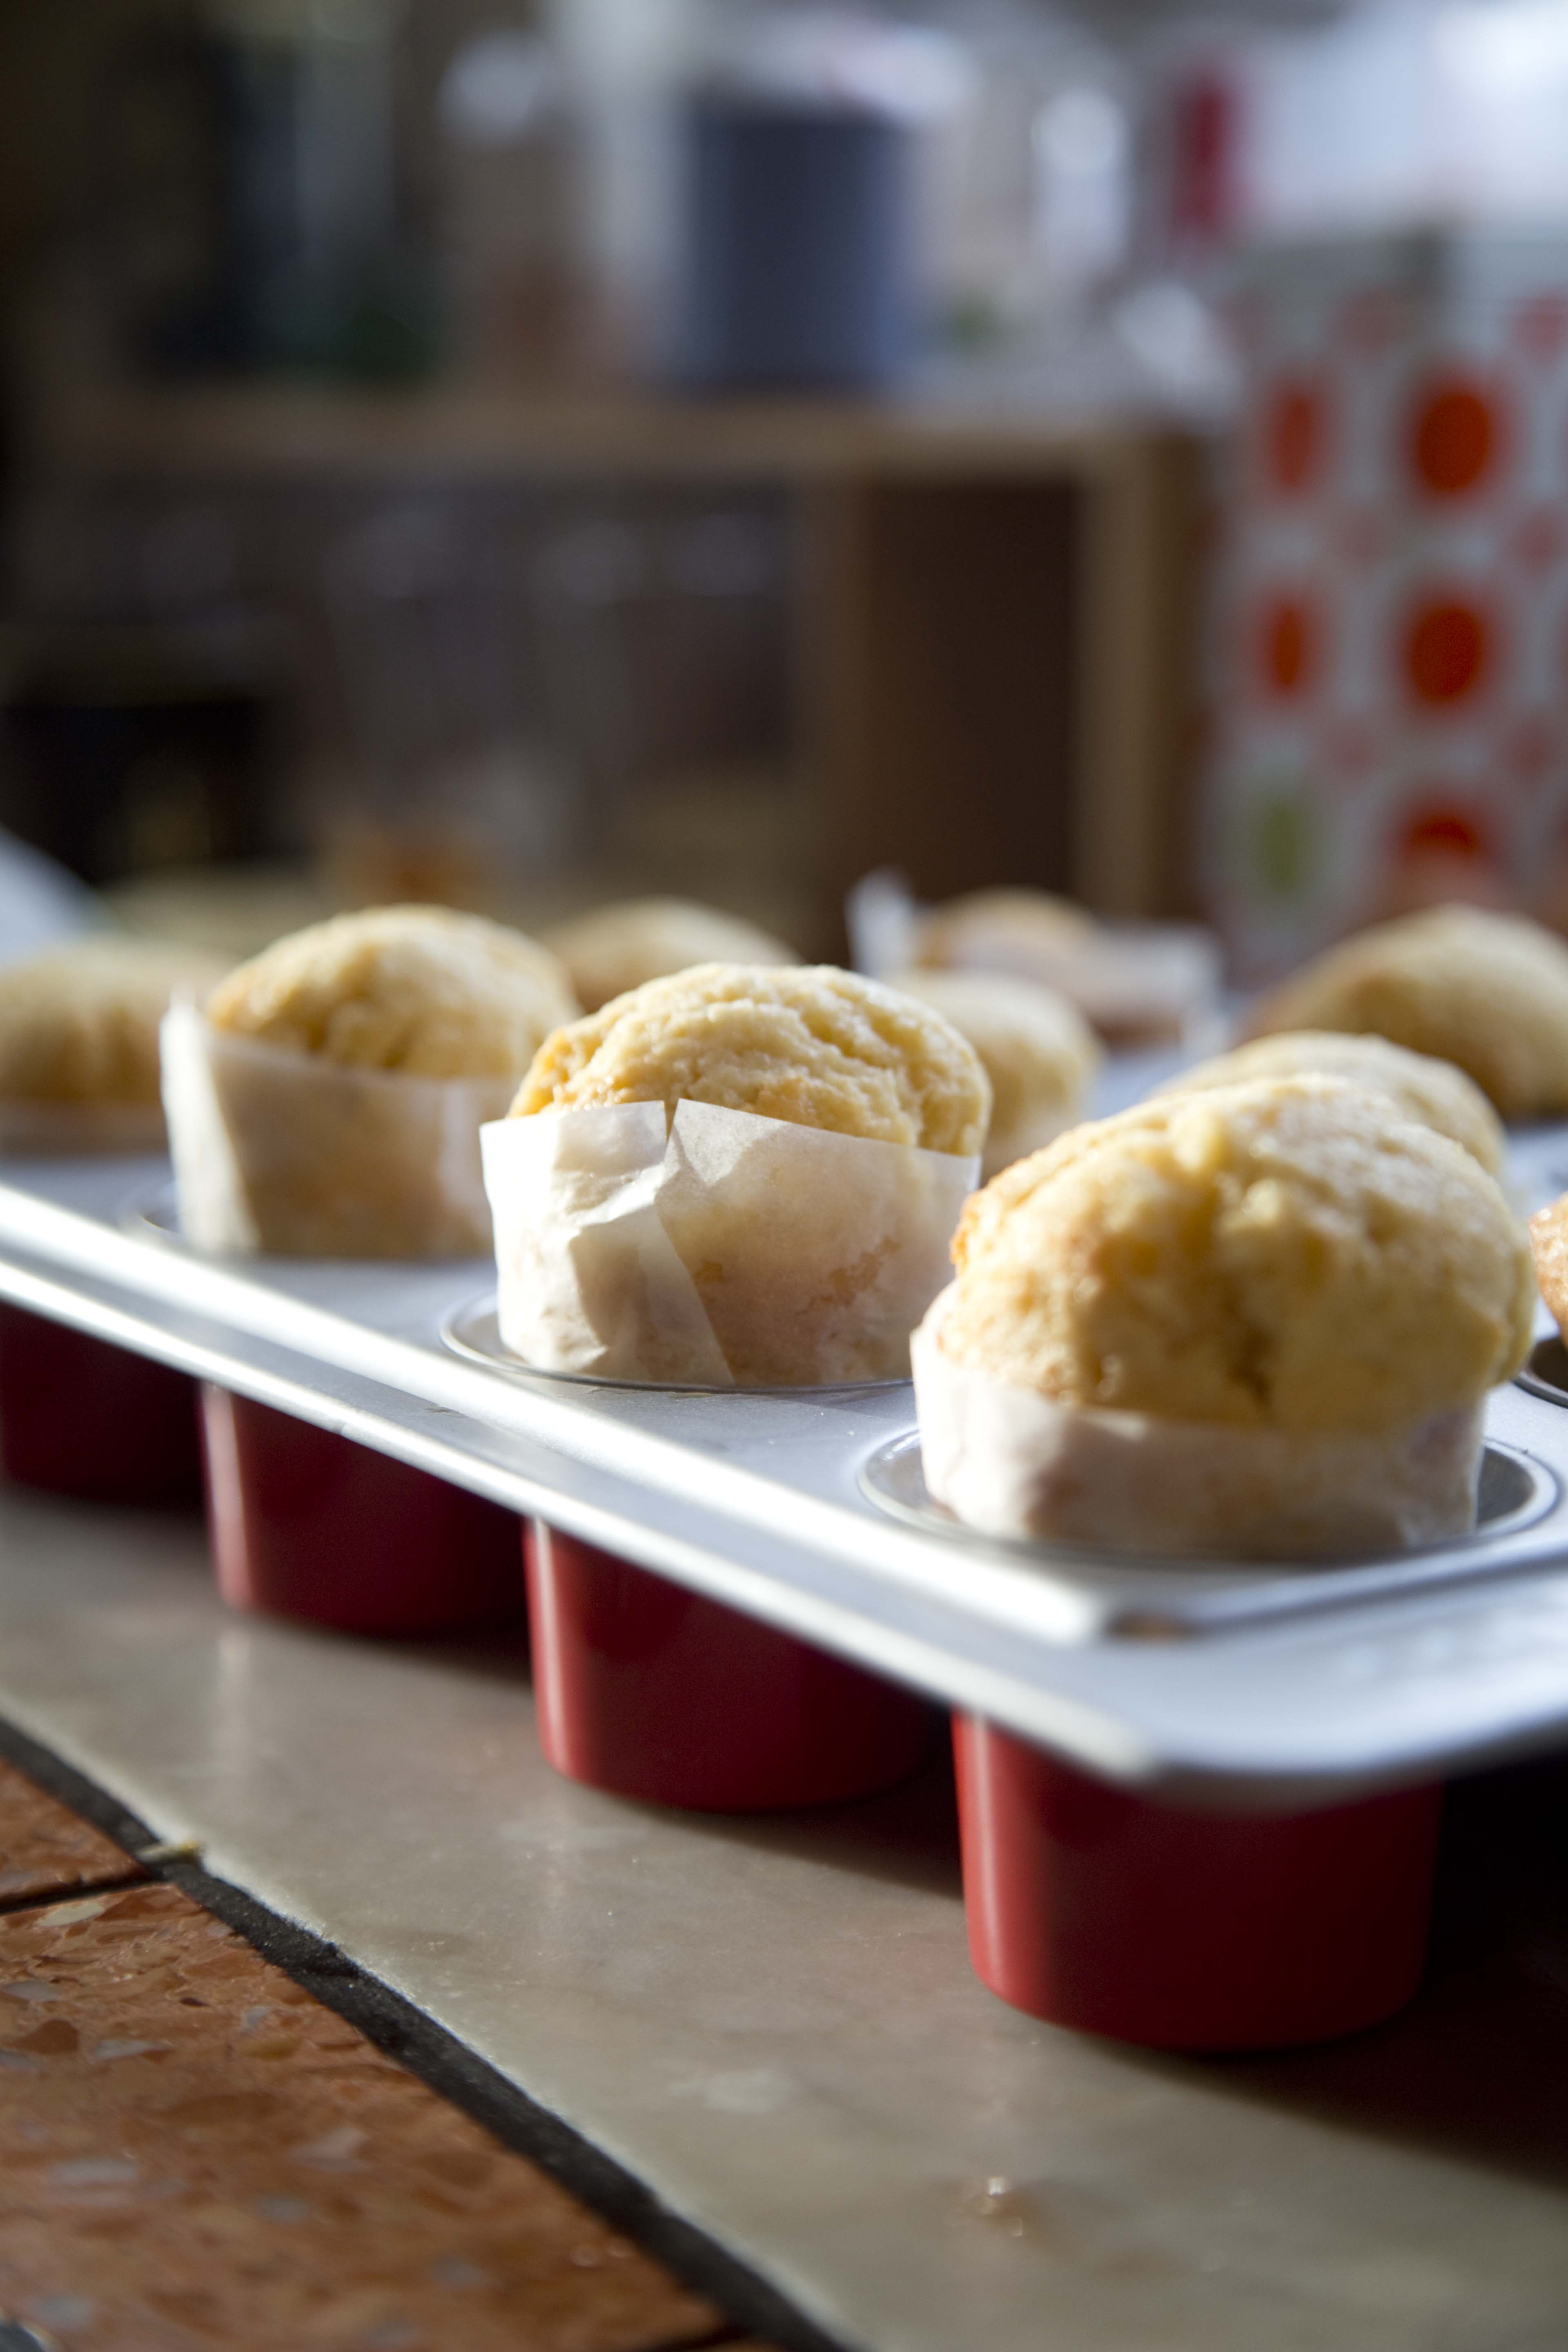
The first thing I always need to get when I land in Portugal is a Bolo de Arroz – or Portuguese Rice Cake. I love everything about them, I love the taste and sweet lemon butter aroma and I especially love the cute little wax paper wrapper that holds the little cake together. They are a must to have alongside a strong coffee and a good view from a street side cafe or bakery.
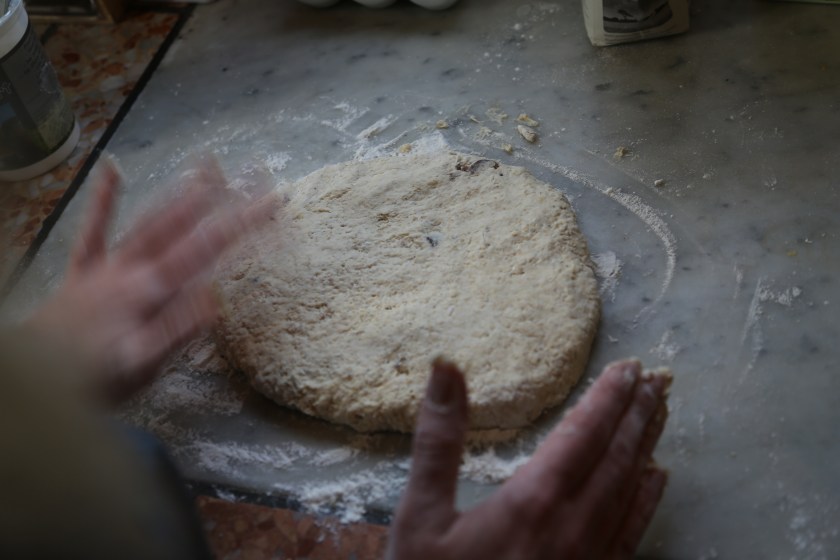
So, back in the UK I set out to make my own batch in order to recreate my fond Portuguese memories…But they didn’t turn out as expected. They were in some regards, perfect in taste and appearance, but in texture they were all wrong. They were not light and slightly greasy as I remember them, they were instead slightly dense with a crispy top! I immediately blamed the recipe and delved into a lengthy research spree, but as I soon discovered, my beloved Bolo de Arroz I know and love, are not actually traditionally supposed to be sticky! Shock horror! As I delved further into the history of the rice cake (all done by physically translating discussions and blogs in Portuguese!) I realised that the little cakes are in fact supposed to be dense with a light crispy top. How can it be I asked?! I am always the advocate for the ‘authentic’ and ‘proper’ way of preparing food, so I was extremely surprised and a little ashamed to admit that I actually preferred the fake supermarket version of the cake.
So with that admittance out in the open, I have with a few adaptations to the traditional Bolo de Arroz recipe manipulated a version that is still a Bolo de Arroz but just a little bit moister. *
(*insert wink here)
____________________________________________________________________________________
Makes about 12 cakes. ( you will need a ‘tall’ muffin tin to support the cakes as they rise up)
90g butter
250 g sugar
1 tbsp baking powder
Zest of 1 lemon (unwaxed organic)
juice of 1/2 a lemon
4 eggs
150 ml milk
2 tbsp olive oil
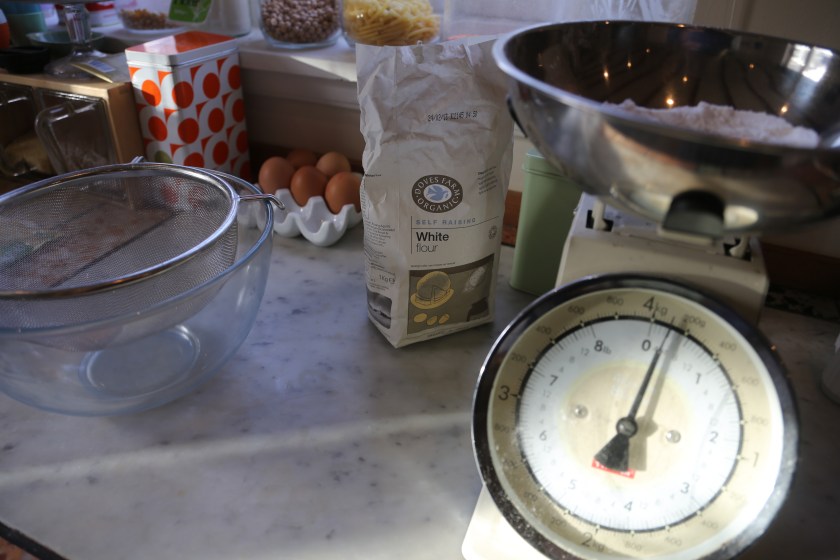
300g plain flour
60 g of rice flour
1 1/2 tbsp cream cheese
butter for greasing
wax paper, cut into strips 6×12 cm, or to the height so they stick 1cm above your tin, and wrap all the way around the inside measurements over lapping slightly.
_________________________________________________________________________
Cream butter and sugar together until light coloured and smooth. Add lemon zest and eggs, one at a time beating in-between. Add half of the milk and oil, then sift in the flour, rice flour and baking powder and fold in gently. Add the remaining milk and cream cheese and stir gently.
Let the batter rest 30 minutes.
Preheat oven to 180°C, fan 160°C, gas 4 and grease and line the pans with the precut wax paper.
Spoon batter in to the molds 3/4 full. Sprinkle with sugar and bake for 20 minutes until the cakes are still light in colour, or until a skewer comes clean out.
Leave to cool on a wire rack, and eat within 2 days.